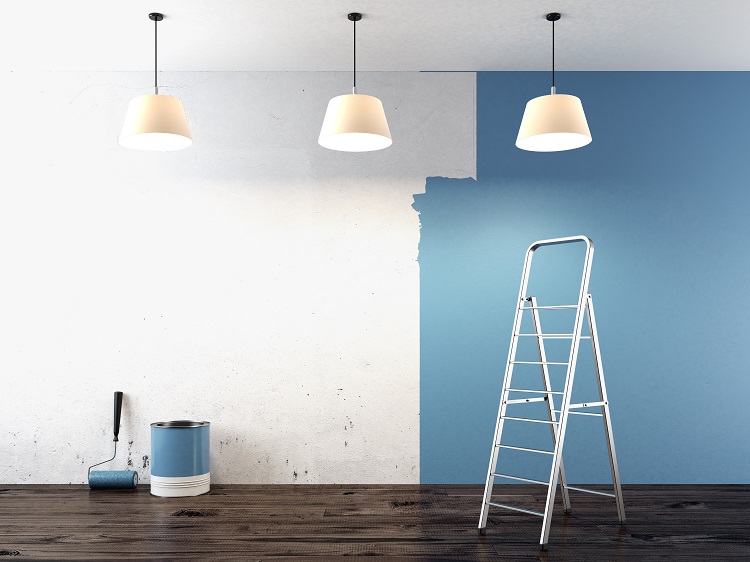
Painting a room is a DIY project that can be extremely rewarding. However, it can also seem overwhelming. Here, we share how to paint a room in 8 simple steps to help you get started and paint a room like a pro
Step 1: Have a plan
Before doing anything, you MUST have a plan. If you don’t, you may change your mind halfway through or end up with something that looks a mess. Start by deciding how you want to paint the room. Not all the walls have to be the same colour. You don’t have to have a white ceiling and you can really make spectacular focus points by having an accent wall painted a different colour to the rest. Unless you are getting completely new furniture, always take into account your furnishing when making a decision on how you want to decorate.
Although you don’t need to know exact colours at this stage, have a shortlist in mind. Decide what tone of colour you want. Will the room suit a warm tone, cool tone or neutral? The answer to this question can help a lot.
Step 2: Choose your colours
Now is the fun part. You get to look through colour wheels and narrow down your choices. Try and make this as fun as possible and don’t get overwhelmed by the choices. Try and create a shortlist of options and go from there. Don’t have too many choices available as you may end up never making a decision you are happy with.
Always buy tester pots before investing in larger tins of paint as it is surprising how different the colours can look once they are applied to the wall.
Also, decide on the finish of the paint. Choose whether you want satin or matt finish at the start so that you know exactly what paint to buy at the shop.
Step 3: Get all the painting materials ready
You don’t want to be halfway through the project when you realise you don’t have the correct materials. Ensure you have everything before you get started. Each DIY project is different, however some key things you will need include:
- The paint
- Paint rollers, and paint brushes of assorted sizes
- Putty knife
- Sandpaper
- Filler
- Painter’s Tape
- Furniture Covers
Step 4: Buy the paint
Once you’ve chosen the colour, ensure you buy enough paint. You can use paint calculators that estimate how much you will need to finish the project. Always overestimate. You don’t want to be partway through the project and need to go to the shop. Although that isn't the end of the world, you have no guarantee the paint will be in stock and colours regularly get discontinued. You don’t want it to be obvious that you have changed shades partway through.
To get the best estimate, measure the room carefully. If you have textured walls, always buy more to accommodate this. Also, bear in mind that some paints may require a second or even third coat. If this is the case, increase how much you buy. For example, painting a pale colour over a dark wall may take several coats.
Step 5: Prepare
Although it is tempting to start painting straight away, don’t. Ensure you prepare everything first. Remove the furniture from the room. Any bulkier items such as beds or wardrobes may have to be pushed into the middle of the room instead. Cover any furniture in the room with sheets to protect it from the paint. Also, cover the floors so that you don’t stain the carpet or flooring.
It’s important to ensure your room remains well ventilated throughout the decorating. So, open windows wherever you can. It's healthier for you and will aid the drying process.
If you are changing any decorations on the wall once it's been painted, then fill in the gaps with filler and allow sufficient time to dry. Once this is finished, use sandpaper to smooth the filler.
Step 6: Get the tape out
Tape around light switches, windows and skirting boards to ensure you don’t accidentally paint them.
Step 7: Get painting
Allow yourself enough time. Painting can take a lot longer than you first think it will, and it is something you do not want to rush. Take one wall at a time. When using a roller, paint in a “W” pattern for the best coverage. It also helps avoid any visible roller marks at the end. Once the wall is dry to touch, you need can apply another coat.
Once the walls are done, remove the painter's tape. Paint the trim of the room and then move onto the windowsills and skirting boards.
Step 8: Clean Up
An equally important task is the clear up. Once you have put the desired number of paint coats on, you will probably be exhausted and just want to finish. However, you must take time the time to clean your brushes properly, otherwise you won't be able to use them again. If the paint you have used is water based, washing the brushes with soap and water will be fine. Oil based paints makes it slightly trickier. You will need to clean your brushes with mineral spirits.
Painting can transform a room instantly and although the steps discussed above are simple, they are all important to ensure a great finish. Once you master how to paint one room, you can tackle the rest of the house and have fun being creative!