
How To Clean Your Oven Without Using Harsh Chemicals
Many people put off the task of cleaning their oven and when they do clean it , they do not opt for natural ingredients. This doesn't have to be the case. Time for You share how to clean without using harsh chemicals

How To Remove Pet Hair From Around Your Home
Whilst pets bring a lot of joy, keeping your home clean when you have pets can be a nightmare. Here is how to remove pet hair from around your home

Quick And Easy Tips For A Tidy Bedroom
If your bedroom is messy or cluttered, it can make it hard to relax and get a good night’s sleep. You know what they say - a tidy space makes for a tidy mind. So, here are some quick and easy tips for a tidy bedroom.
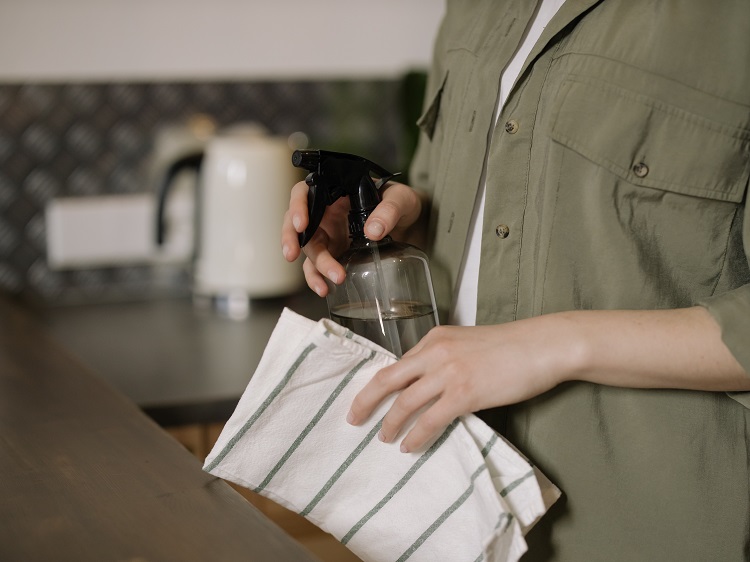
Ways to use white vinegar around your home
Dating back as far as 10,000 years, white vinegar is a household staple that has stood the test of time. We share several ways you can use white vinegar around your home.

6 Ways to get your kids to help with housework
Doing chores can teach children valuable skills for later life, but it can be difficult to motivate them. We share 6 ways to get your kids to help with housework

Keeping your pet safe in the garden
Your garden can contain things that can be dangerous for your pet. Time for you share how to keep your pet safe in the garden
6 Cleaning hacks that don't really work
The internet is full of miracle fixes but do they work? Time for You Domestic Cleaners share 6 cleaning hacks that don't actually work
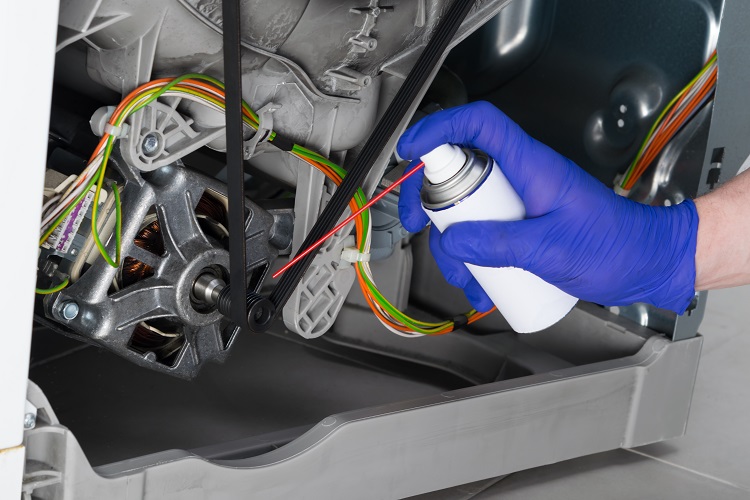
10 Ways you can use WD-40 around your home
From removing permanent marker, removing carpet stains and untangling jewellery, Time for You share some of the best ways you can use WD-40 around your home
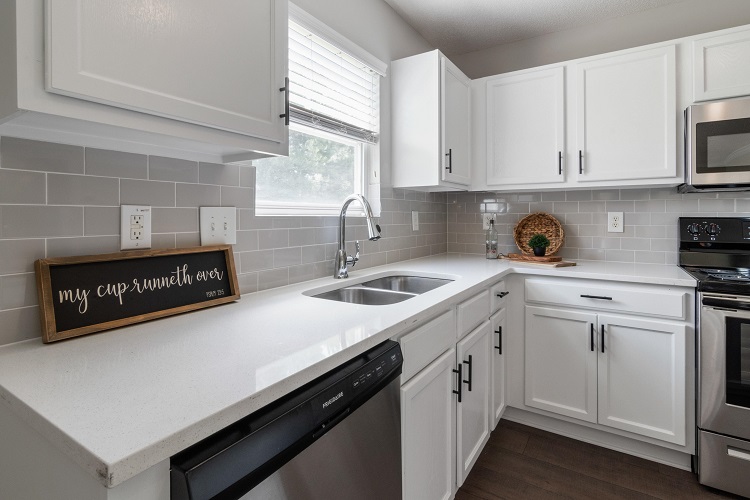
Top Tips to declutter your kitchen
Declutter your kitchen and help to ensure it stays that way by following these top tips and be the envy of your friends and family with your immaculate kitchen.
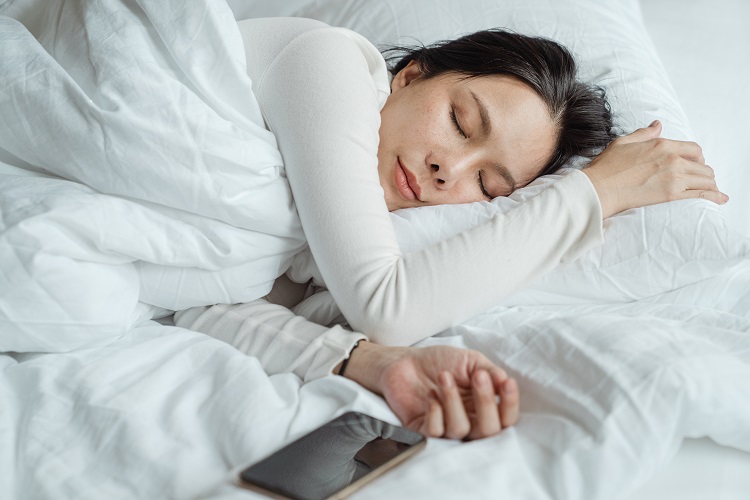
How to Improve Sleep
Suffering from sleepless nights? Read on to find out what may be keeping you up, and different ways you can improve sleep quality
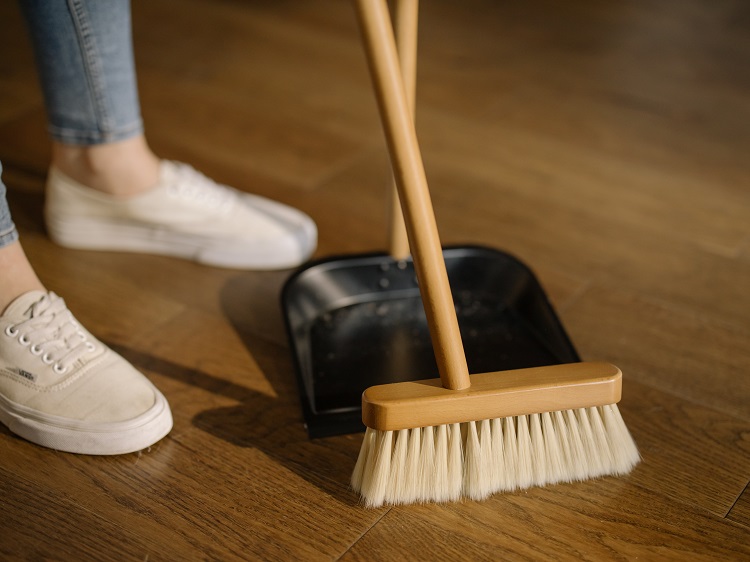
Bad cleaning habits that need to be broken
Bad cleaning habits can lead to more time spent cleaning. Read on to hear what bad habits to avoid when cleaning
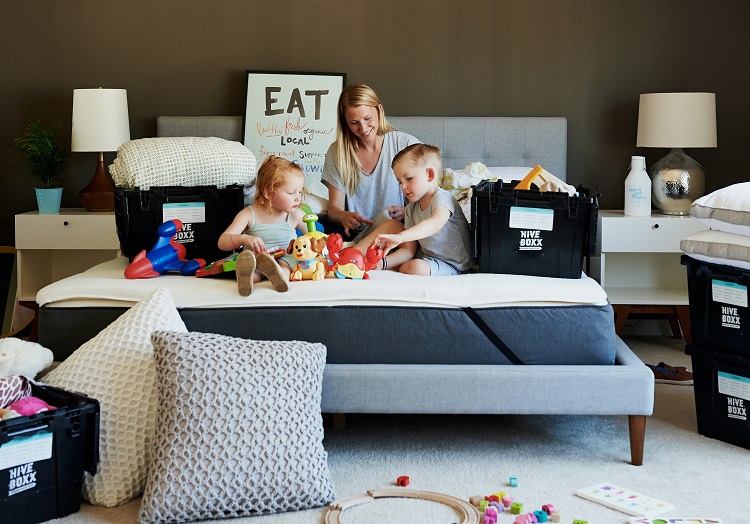
Stress-Free Moving Hacks
Moving house can always be daunting but with these stress-free moving tips you can make the whole process easier and save yourself a headache!